


My Space of Joy
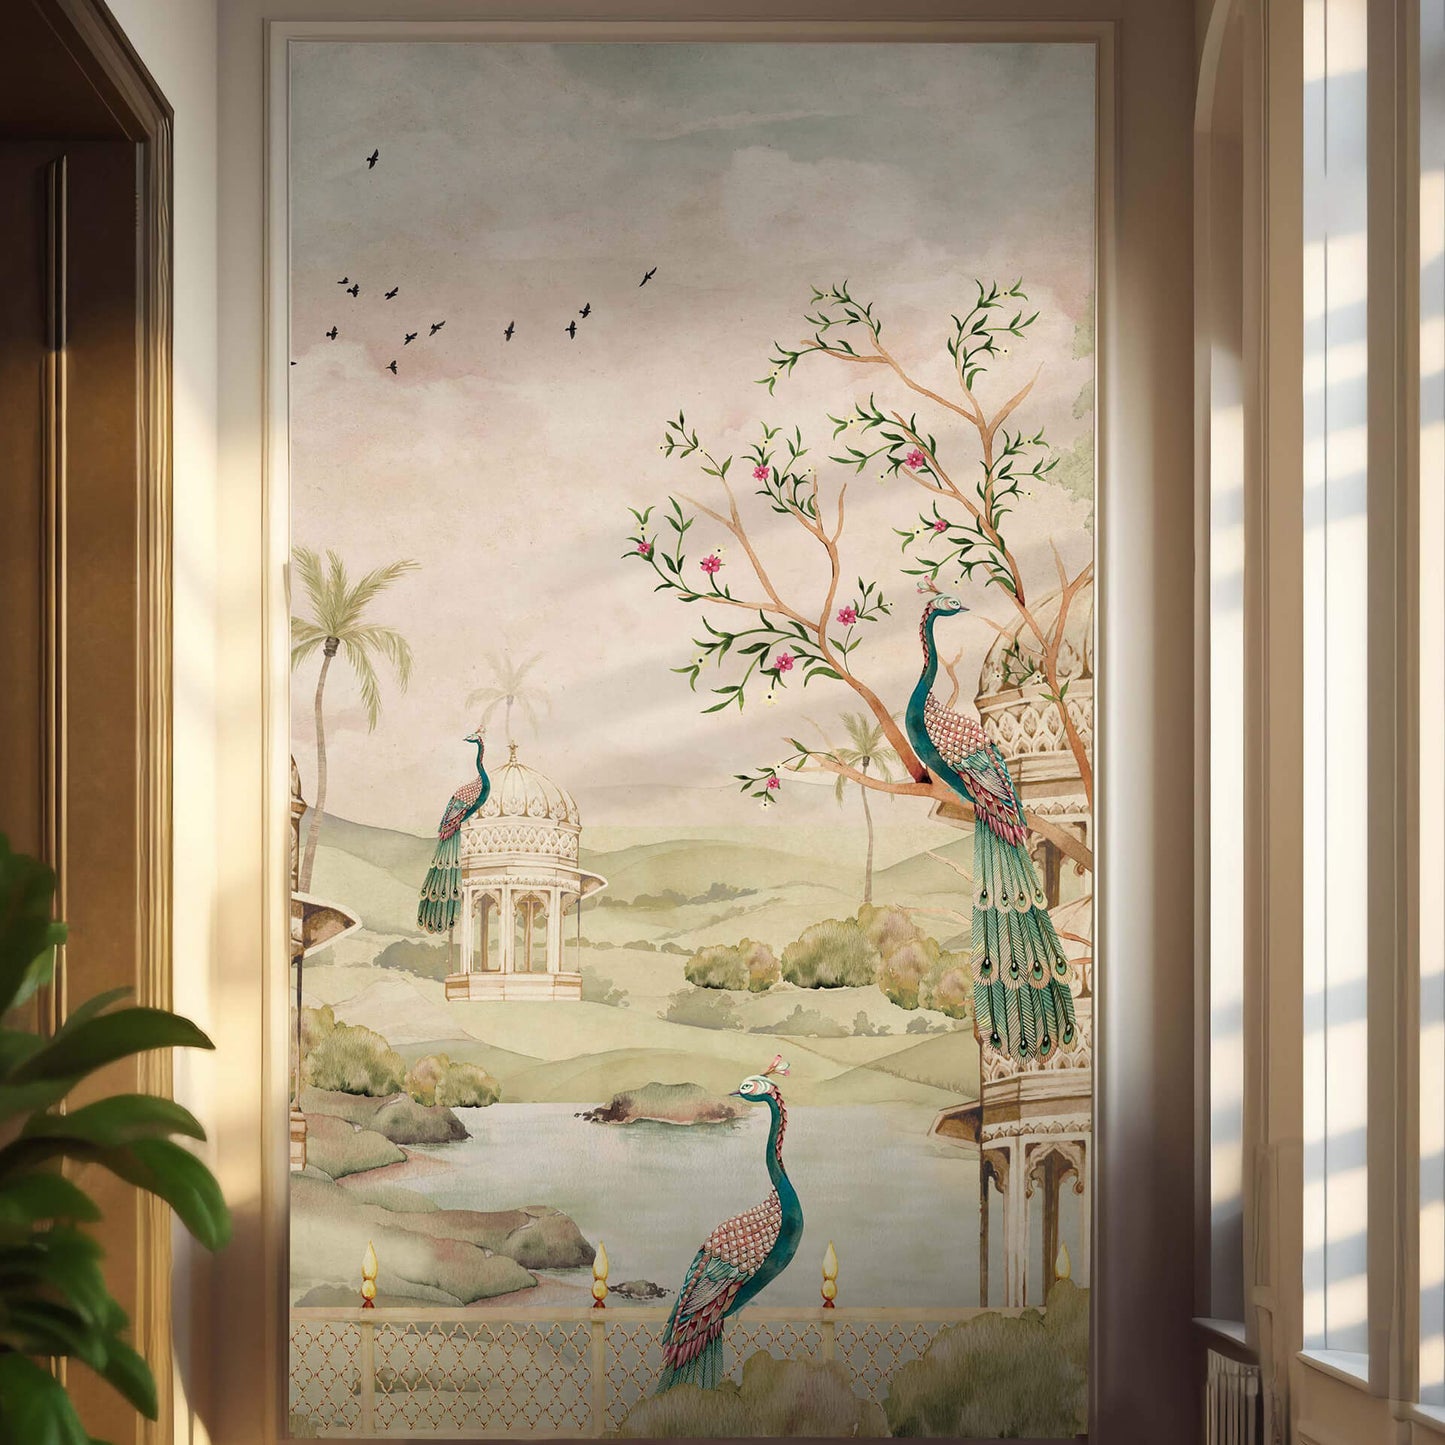
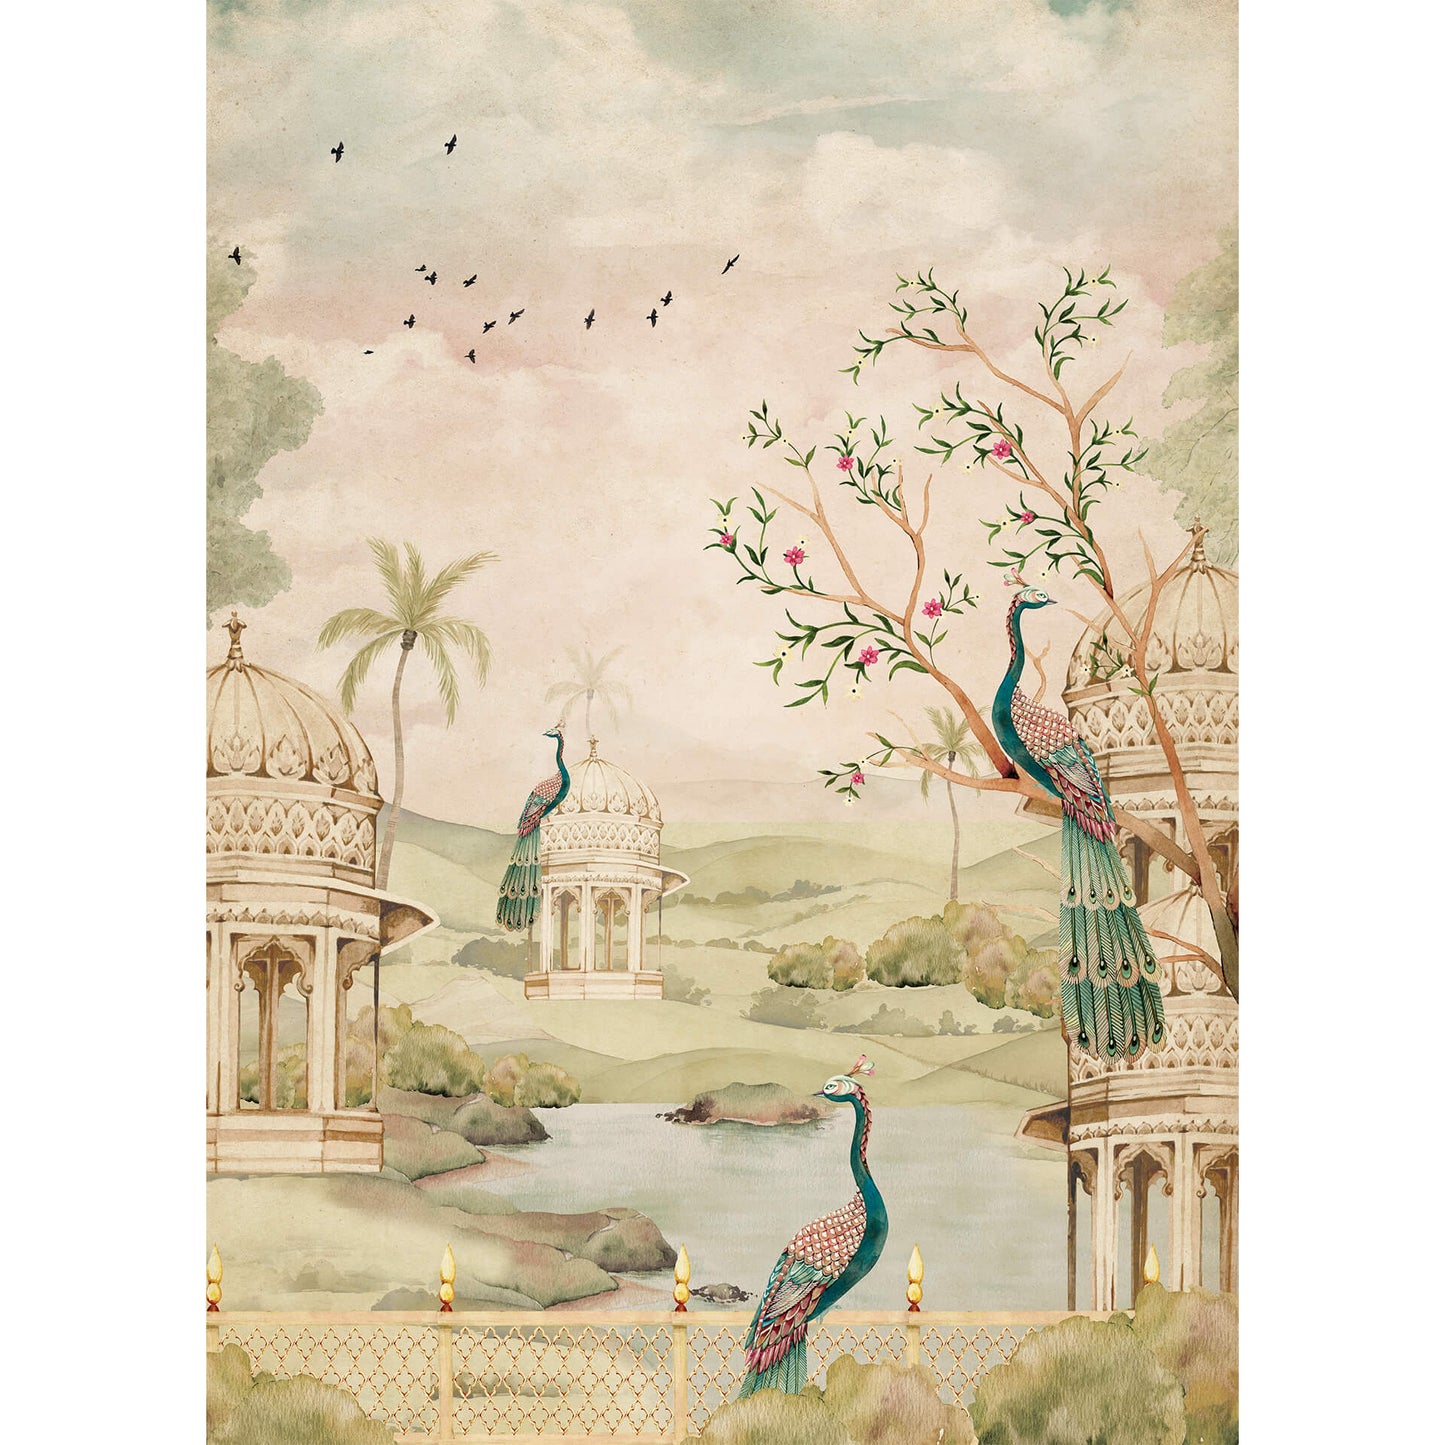
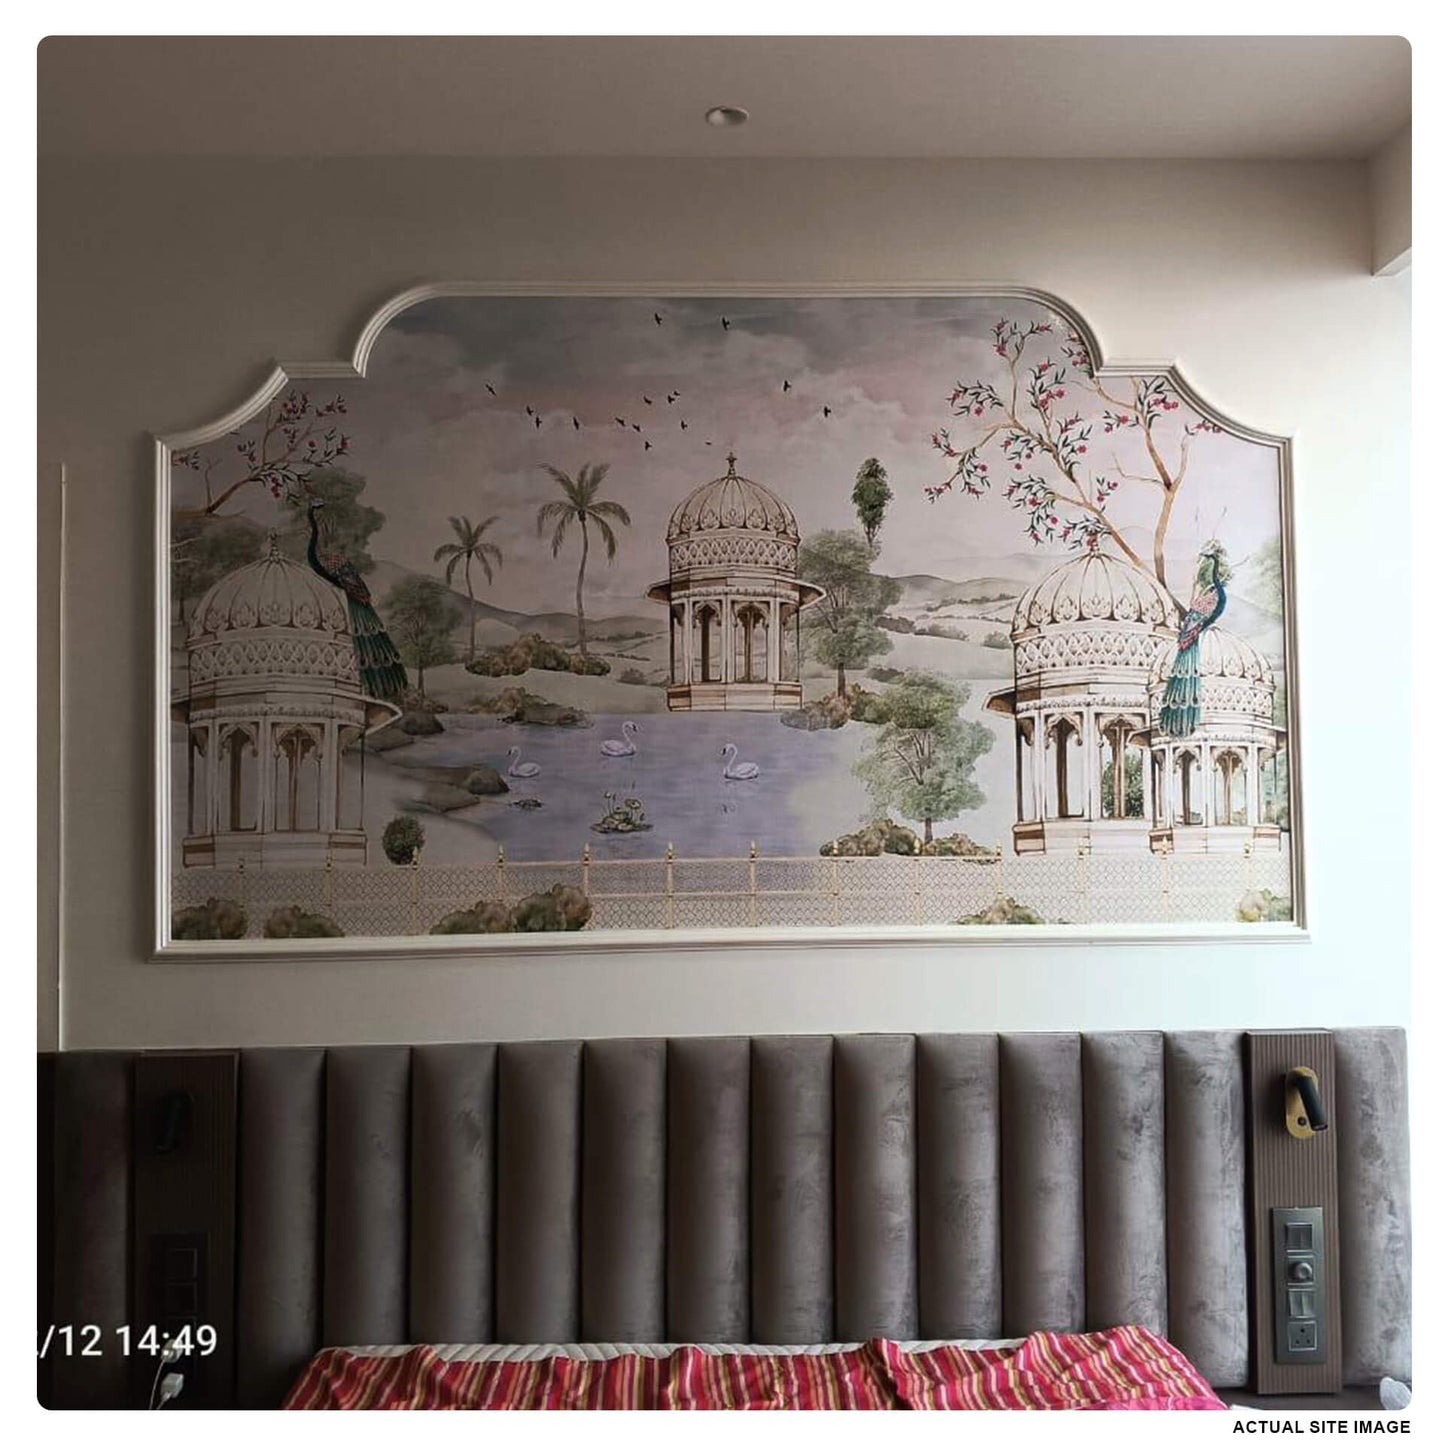
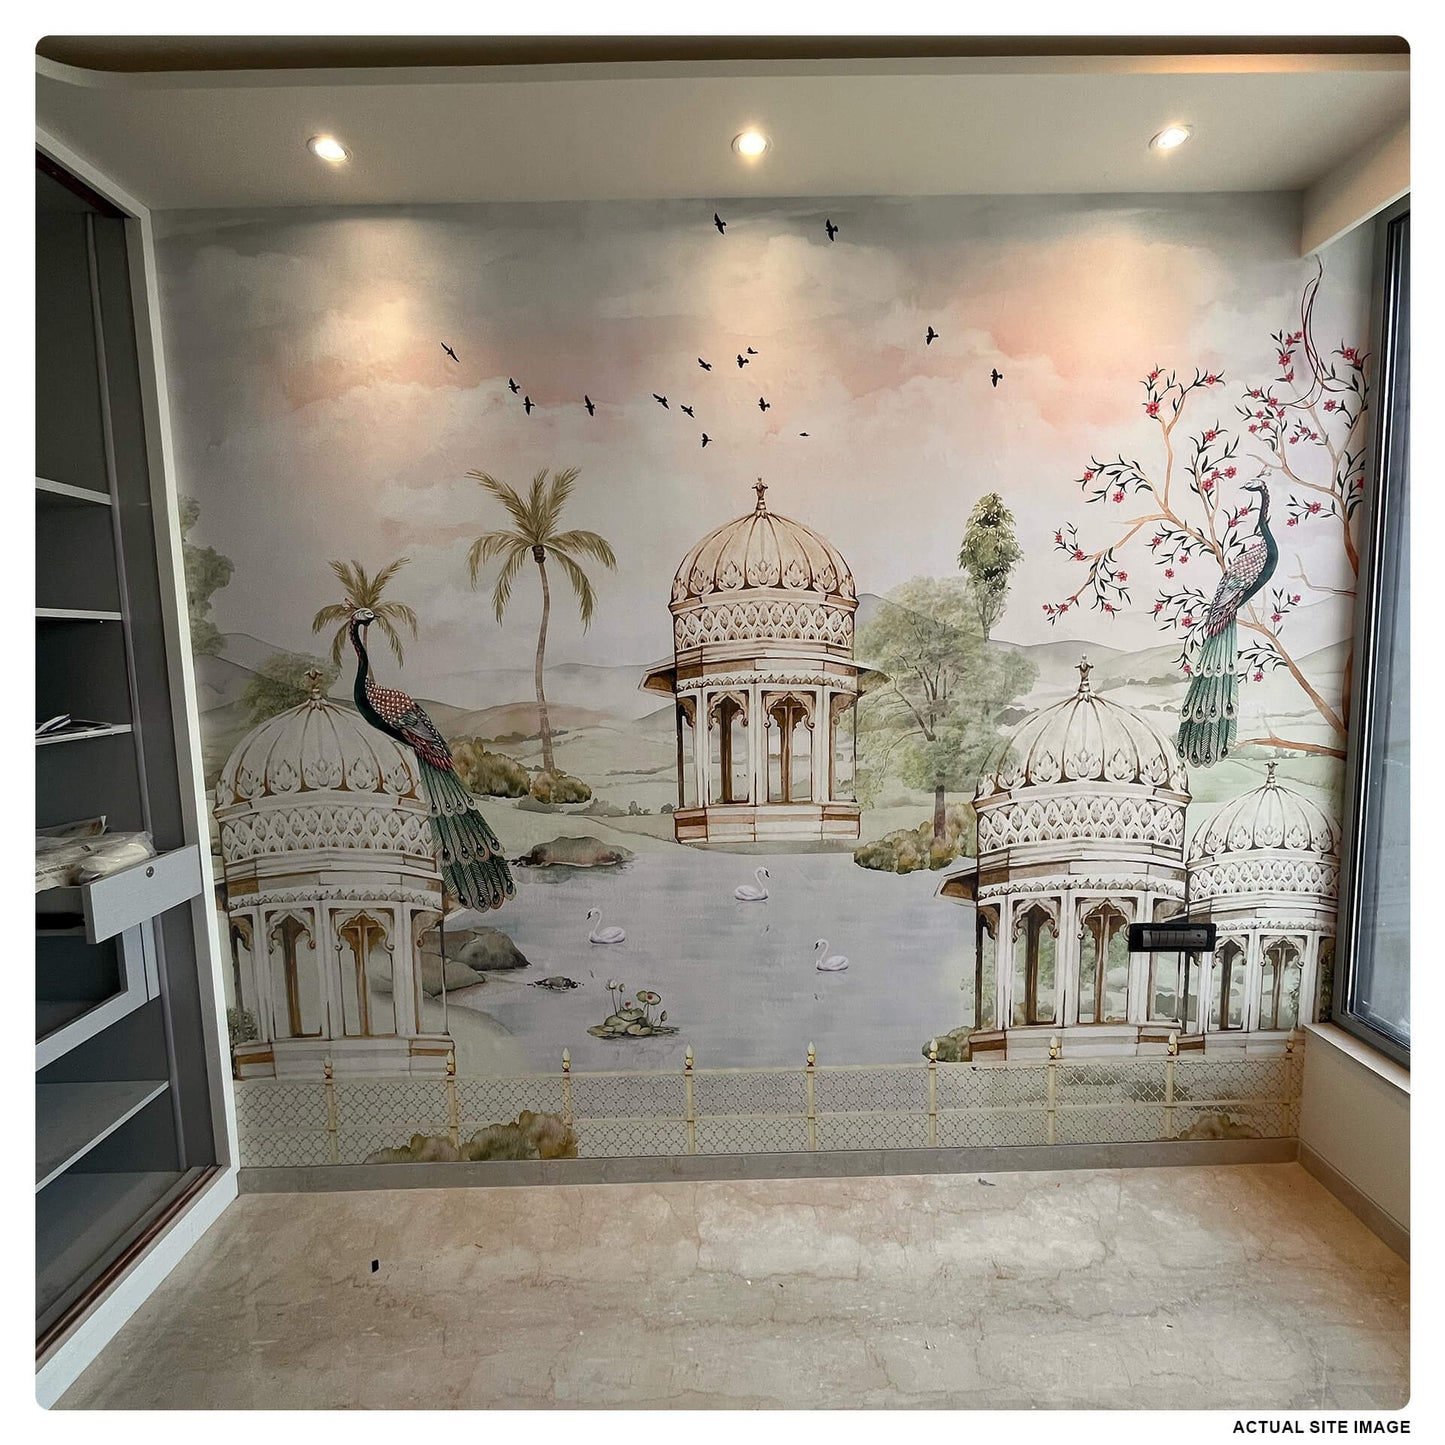
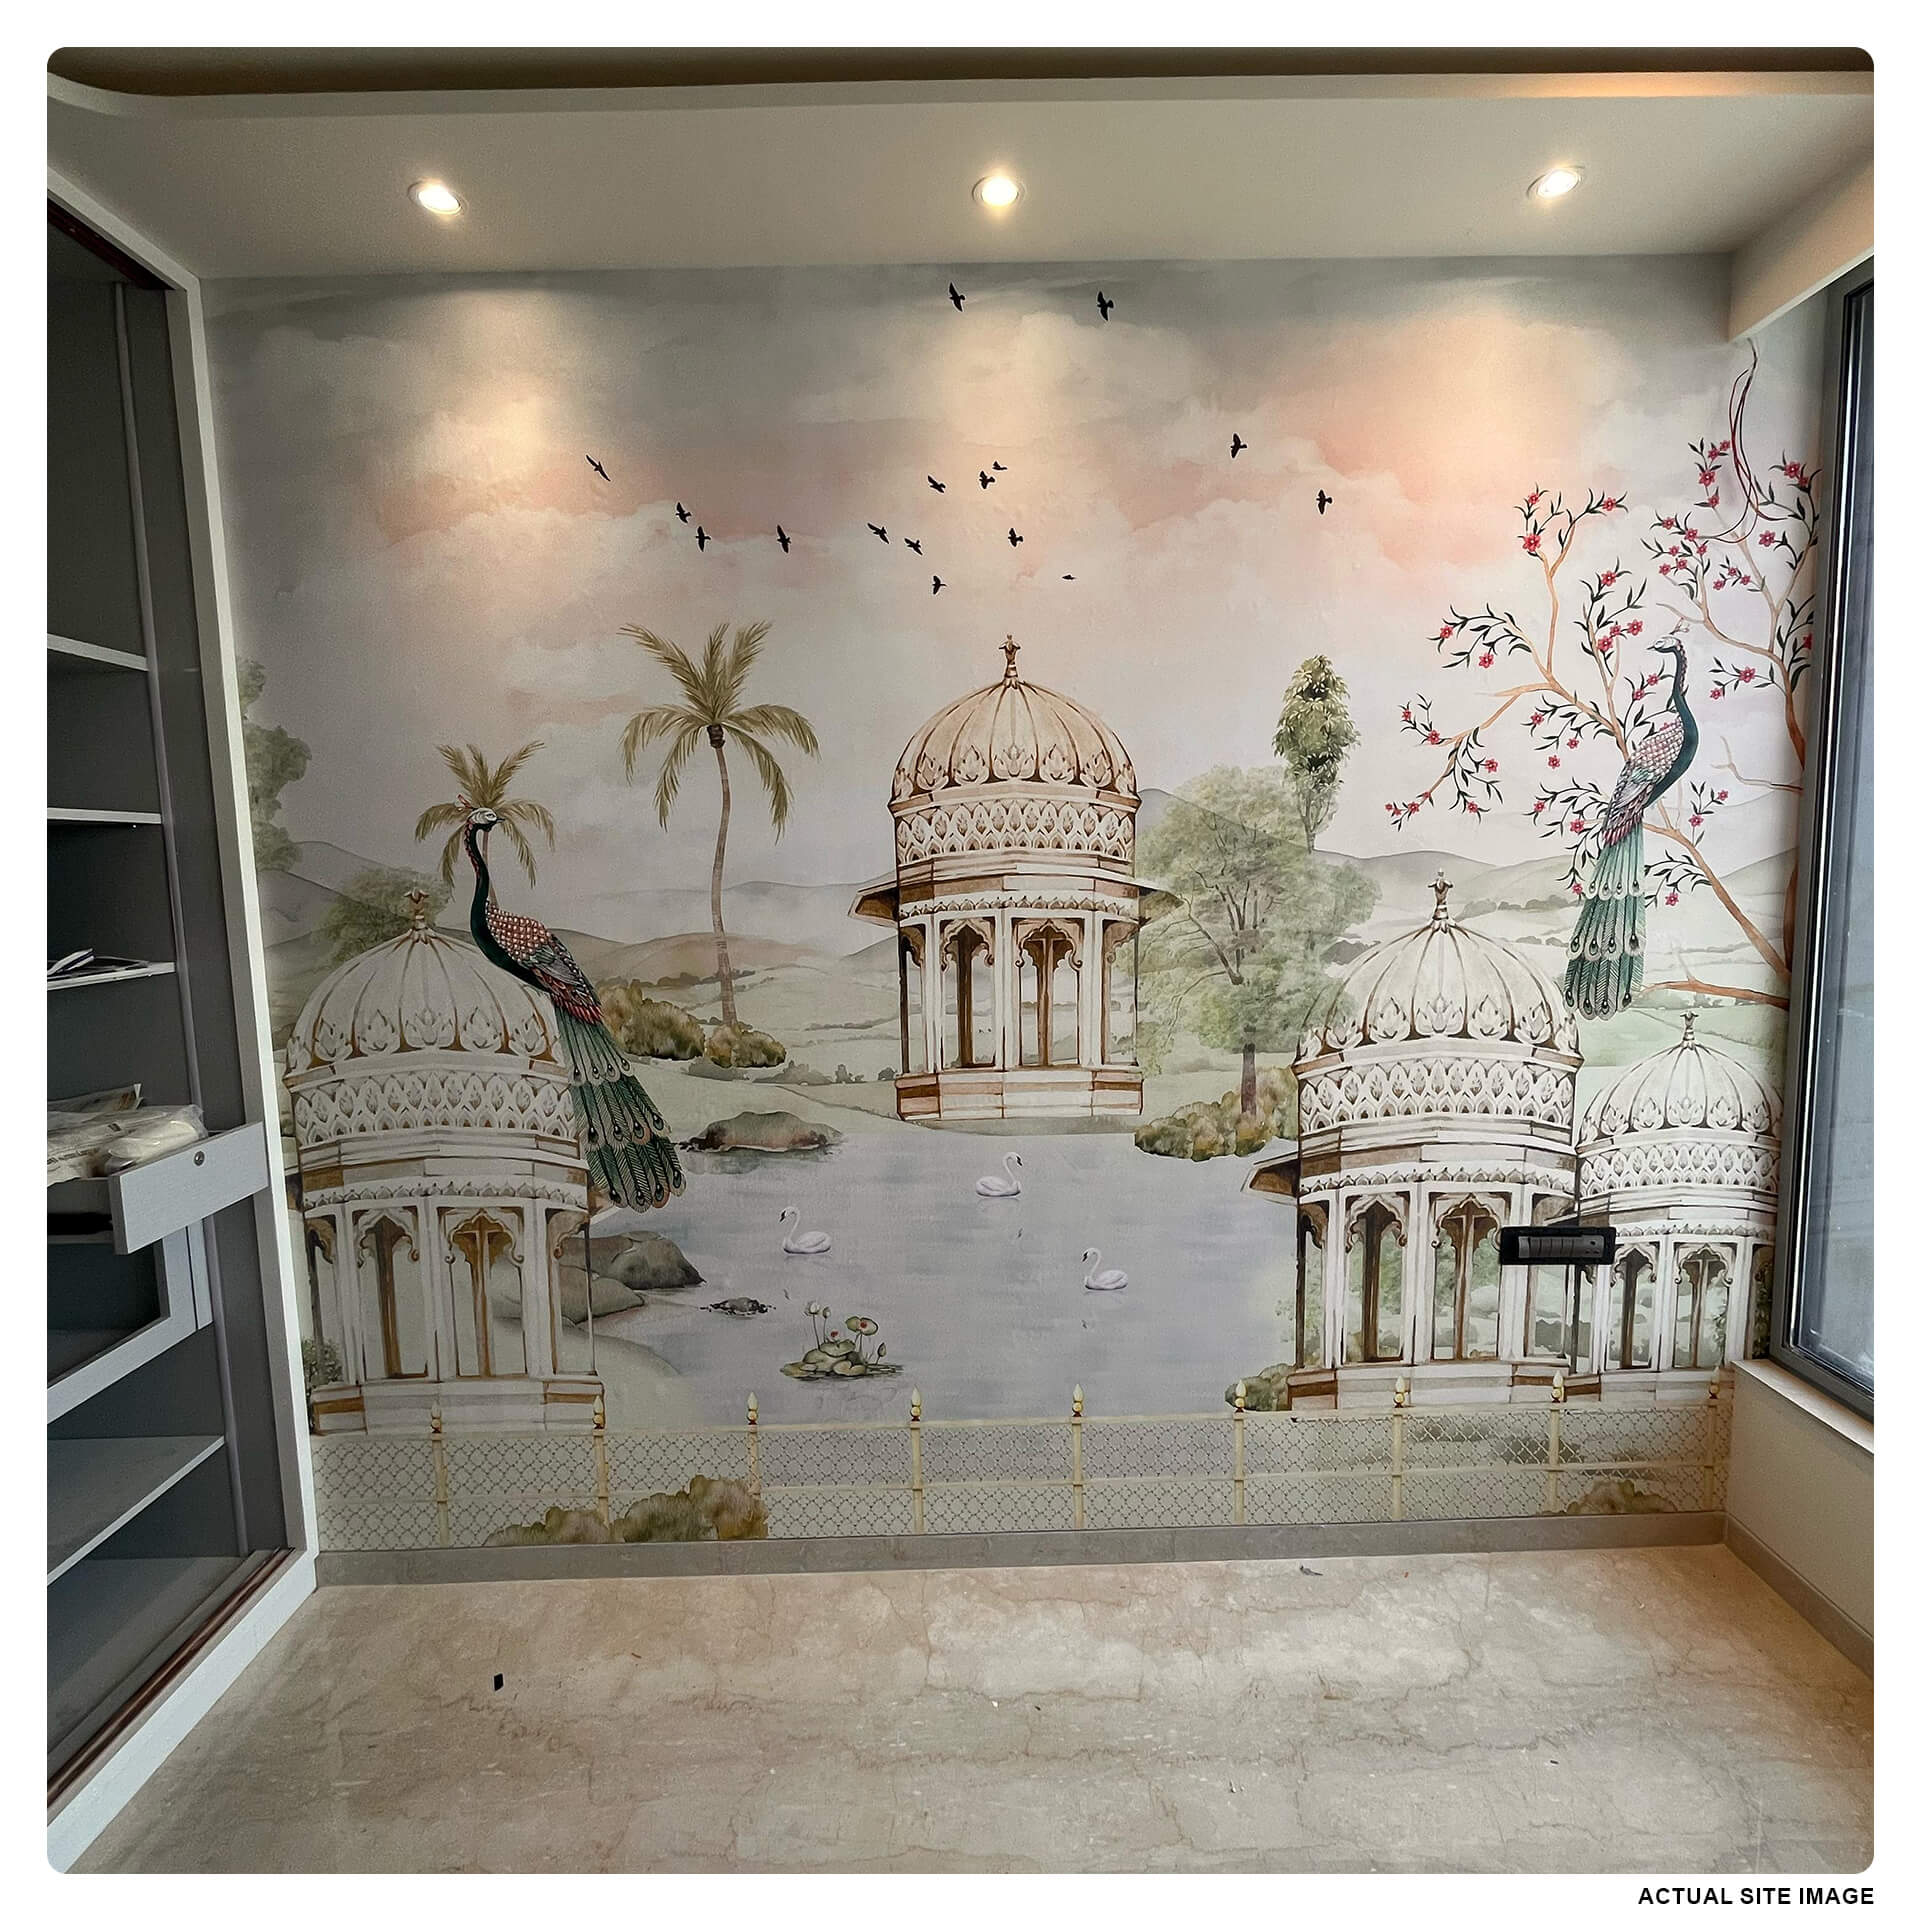
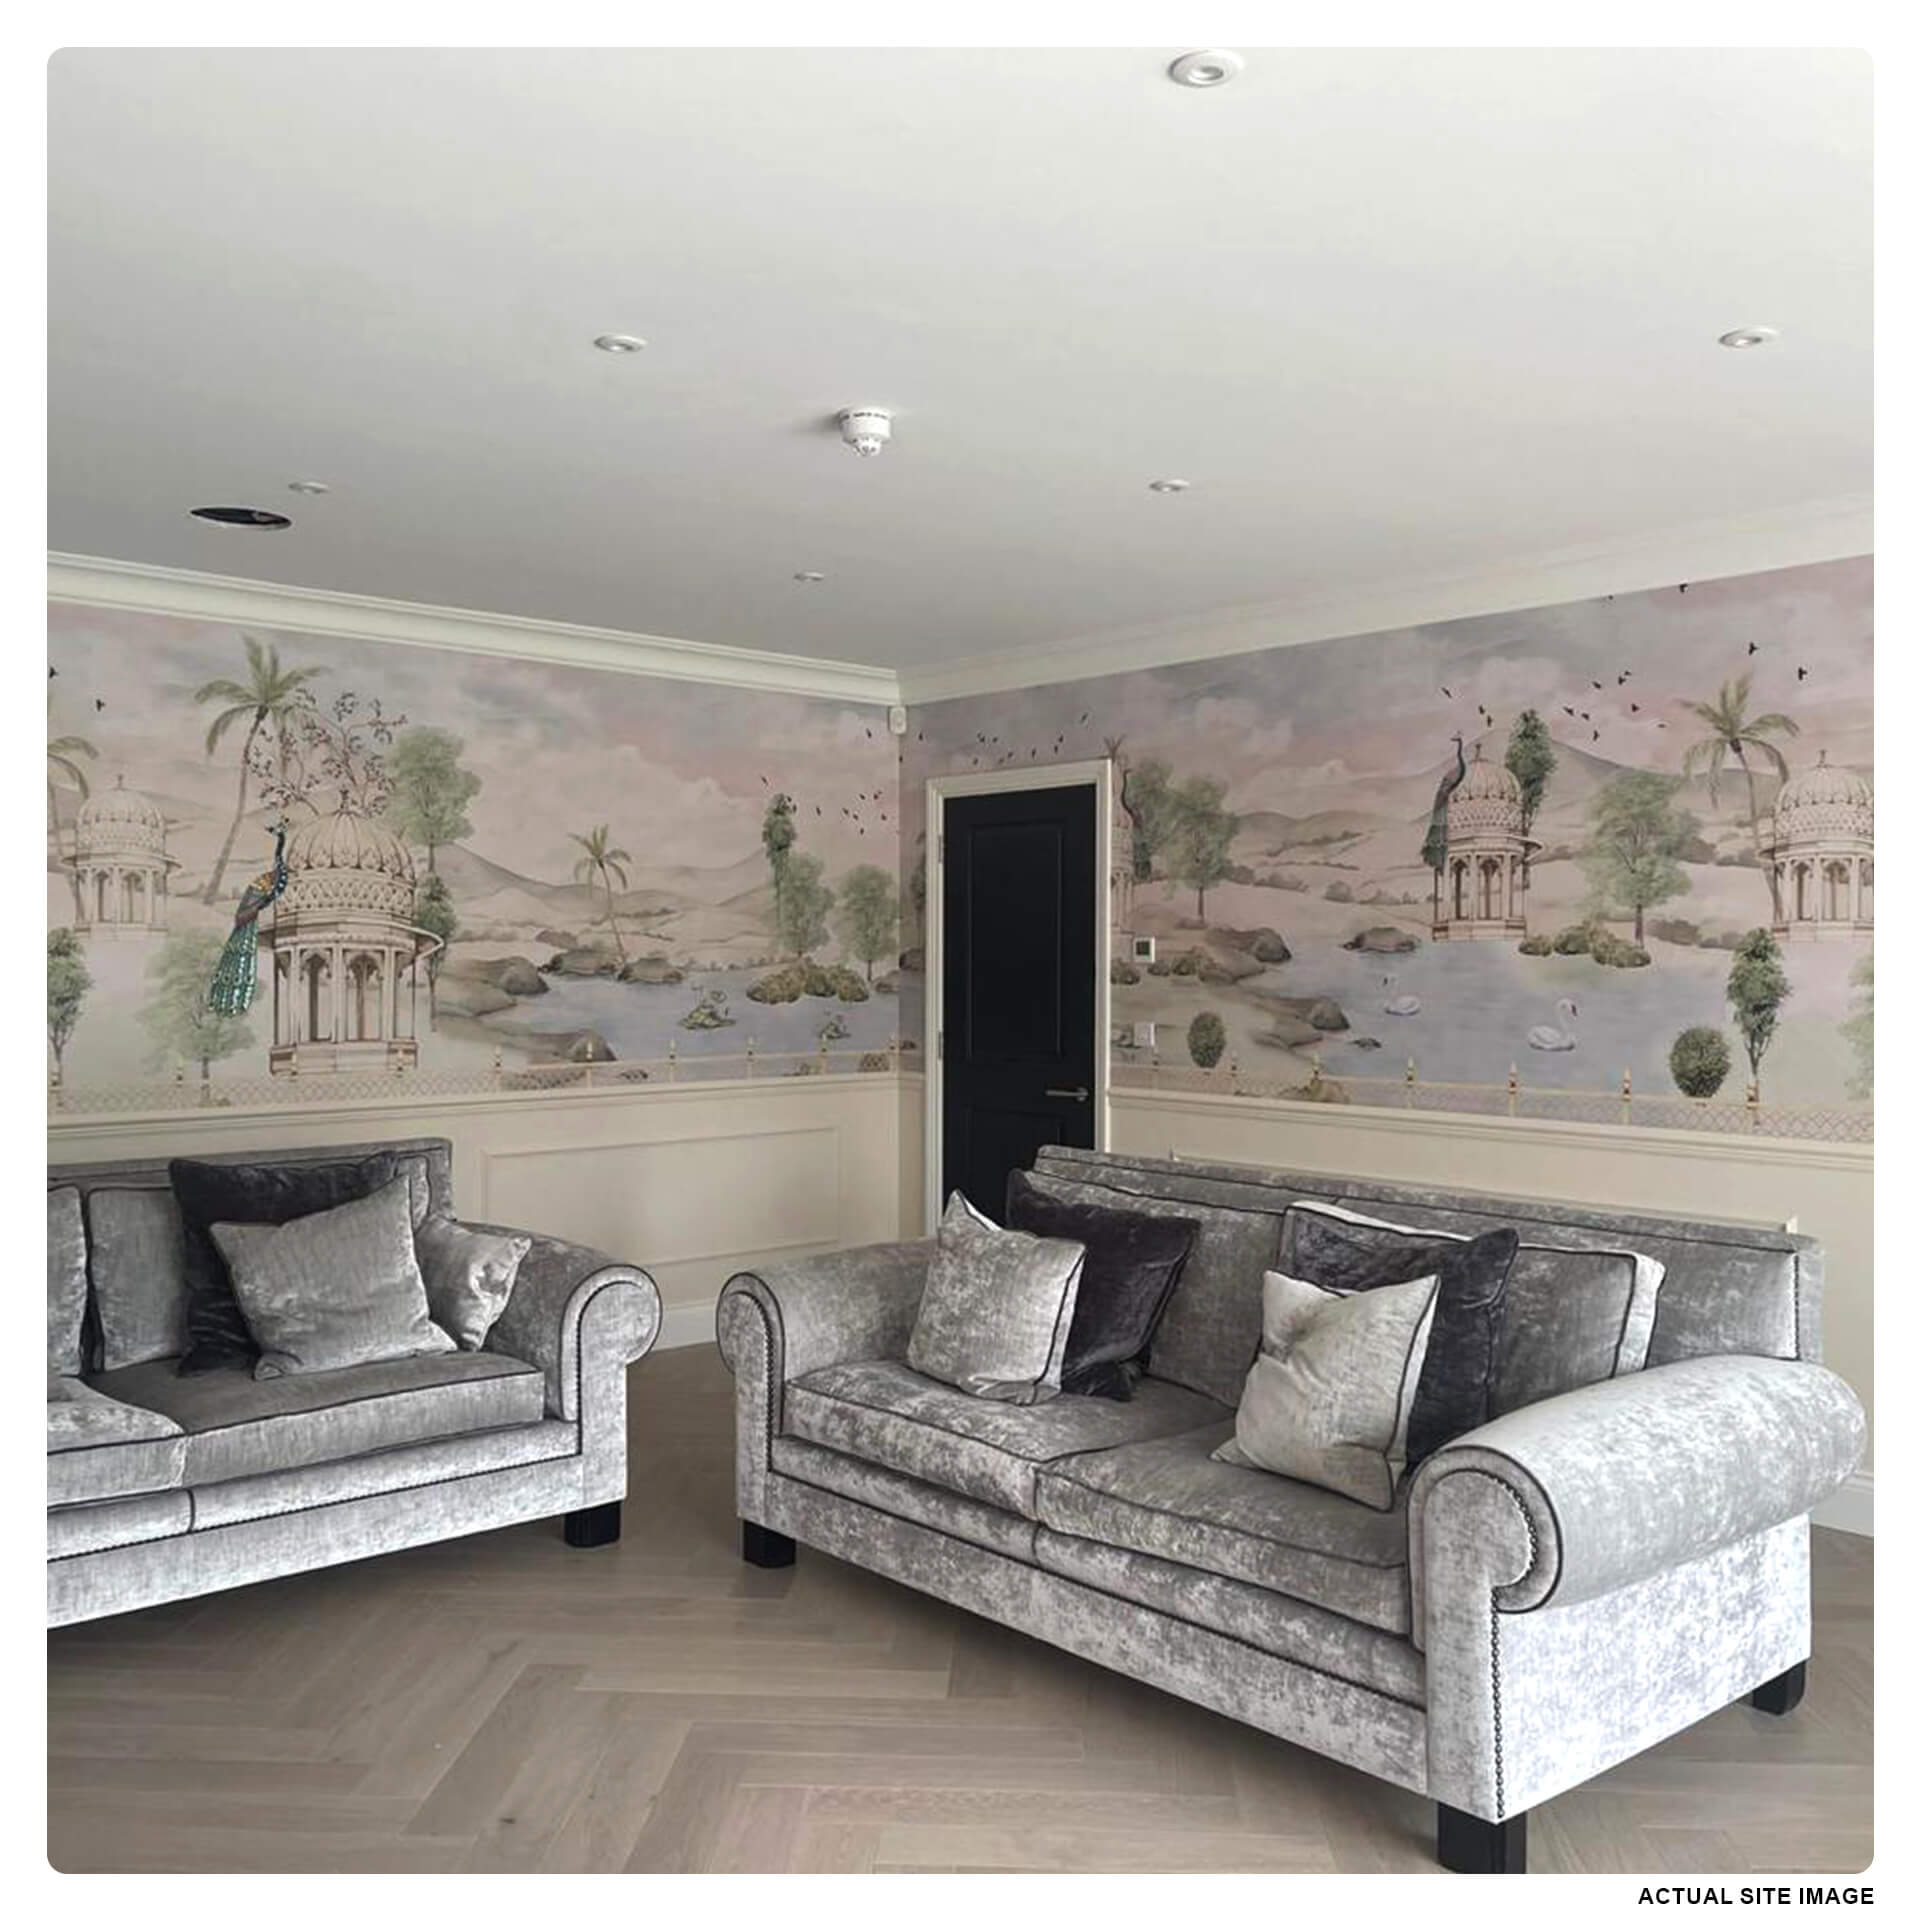
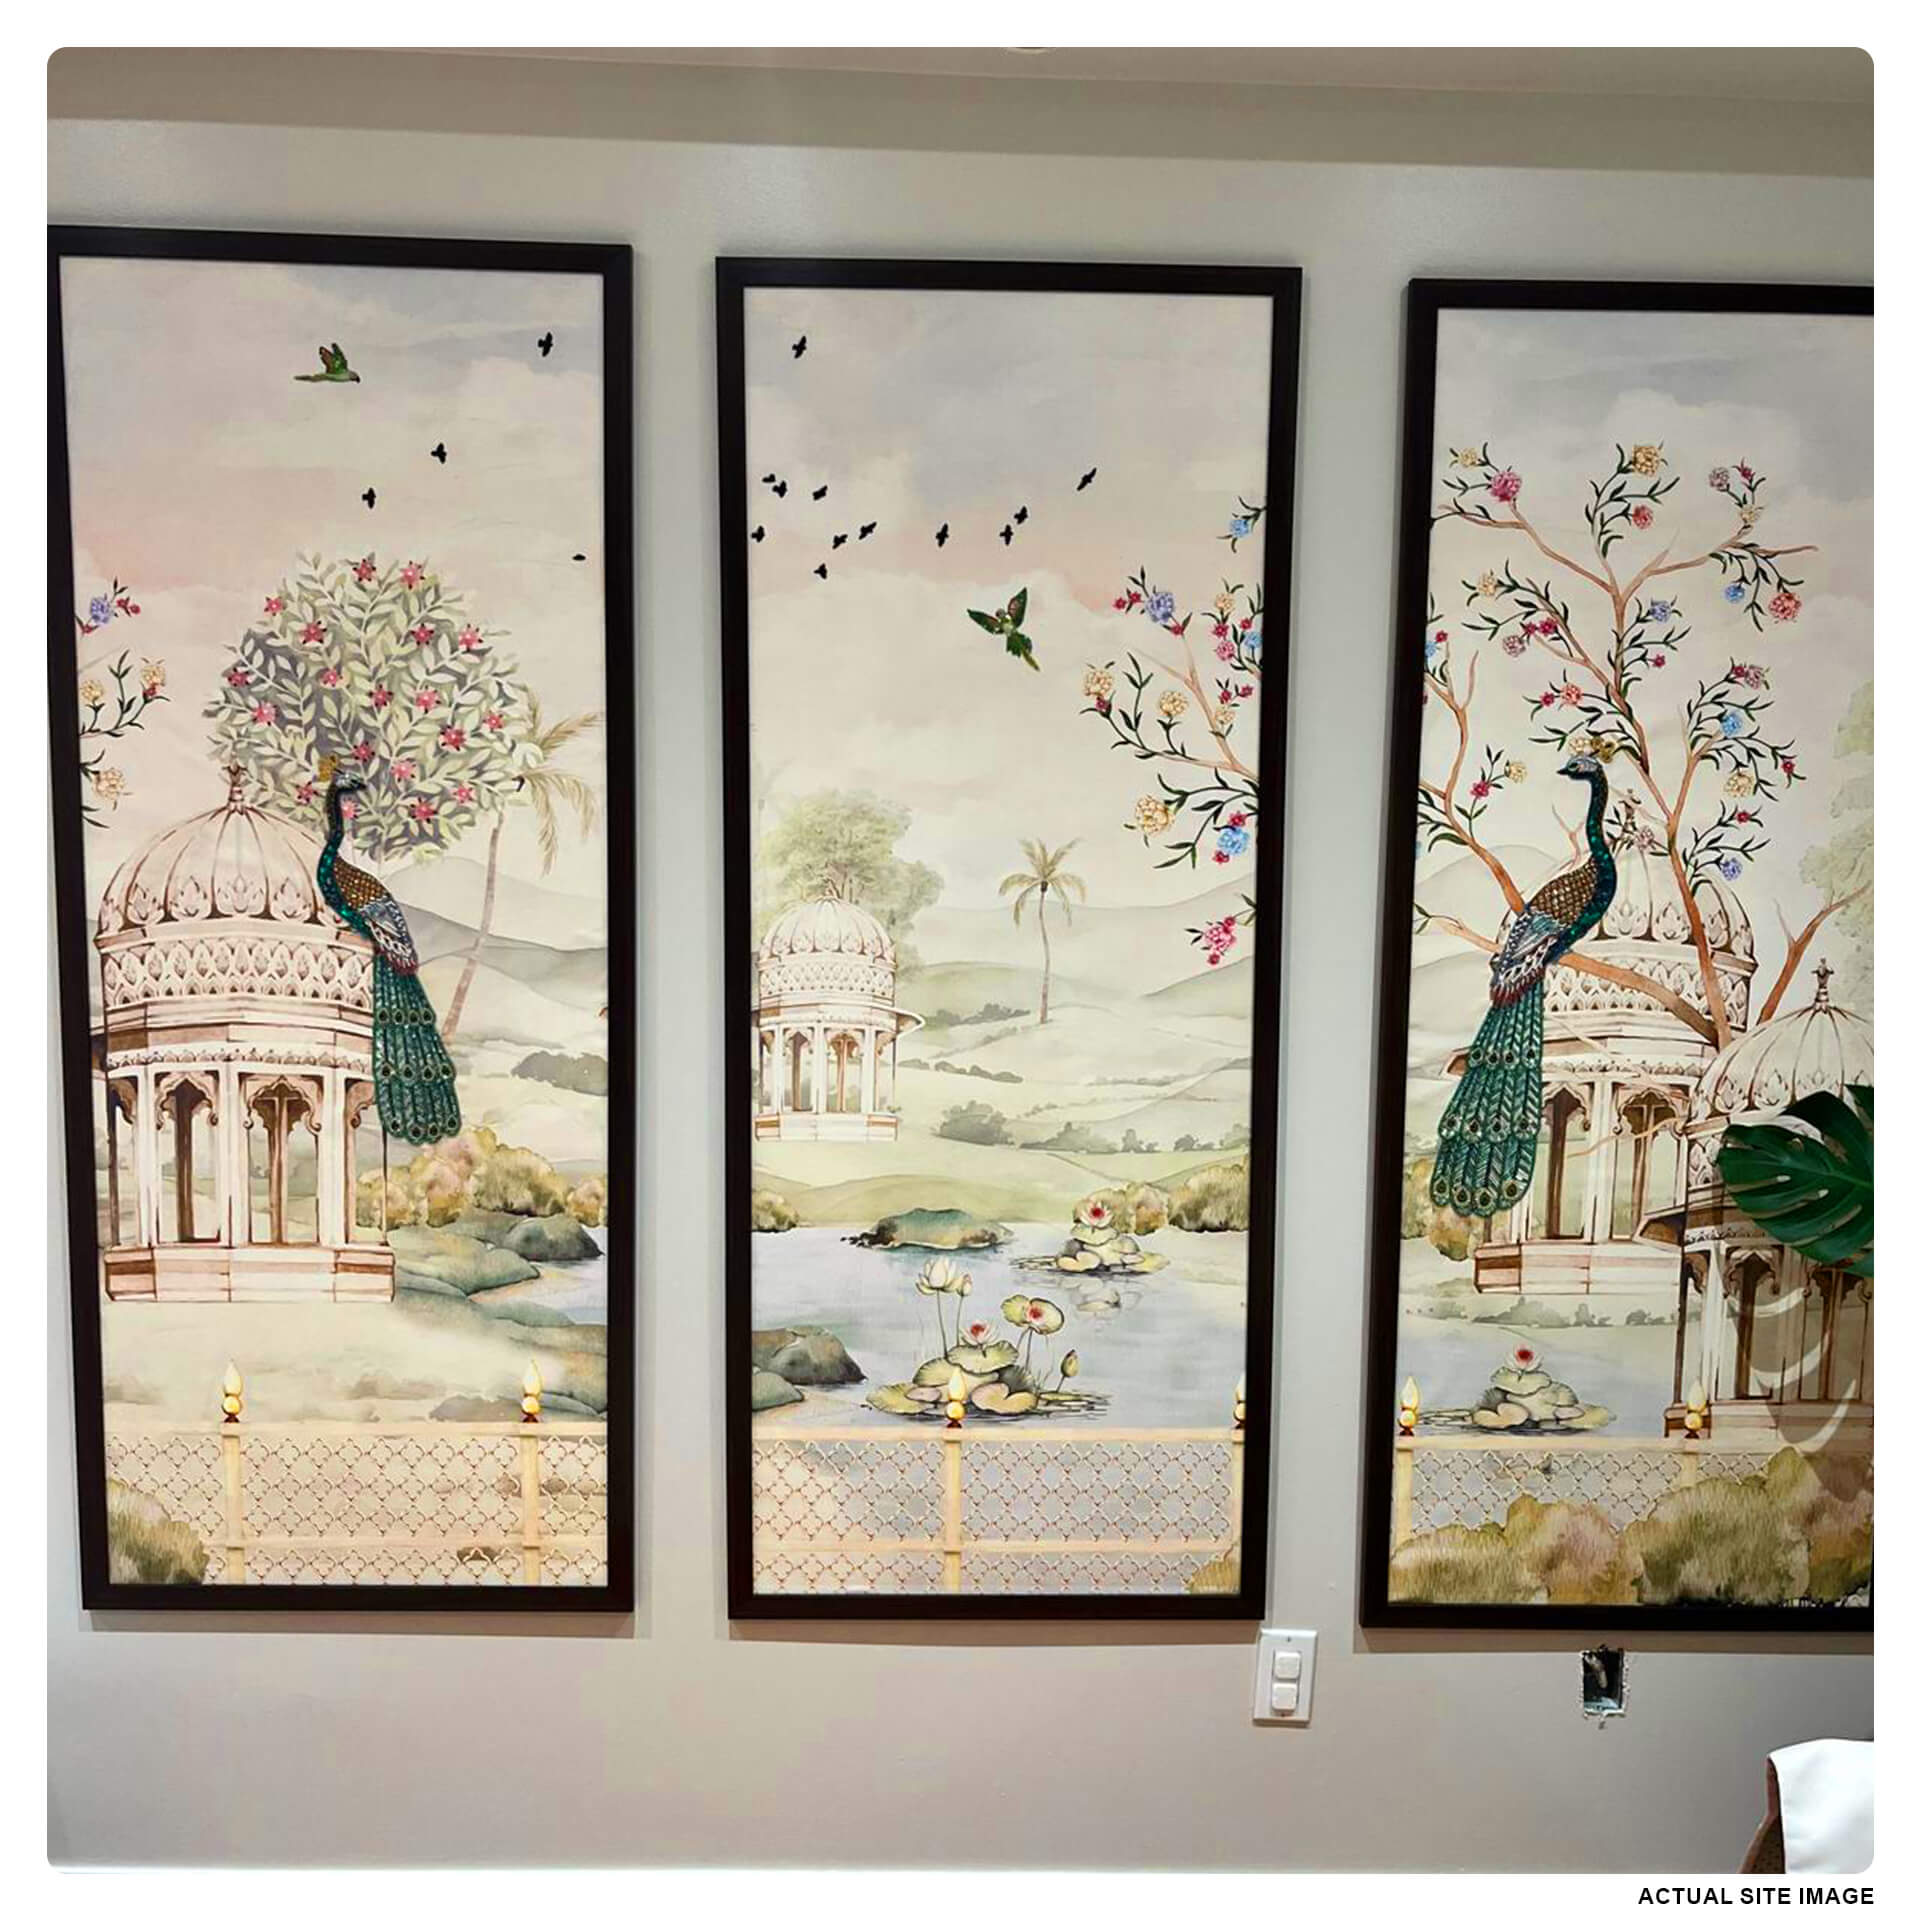
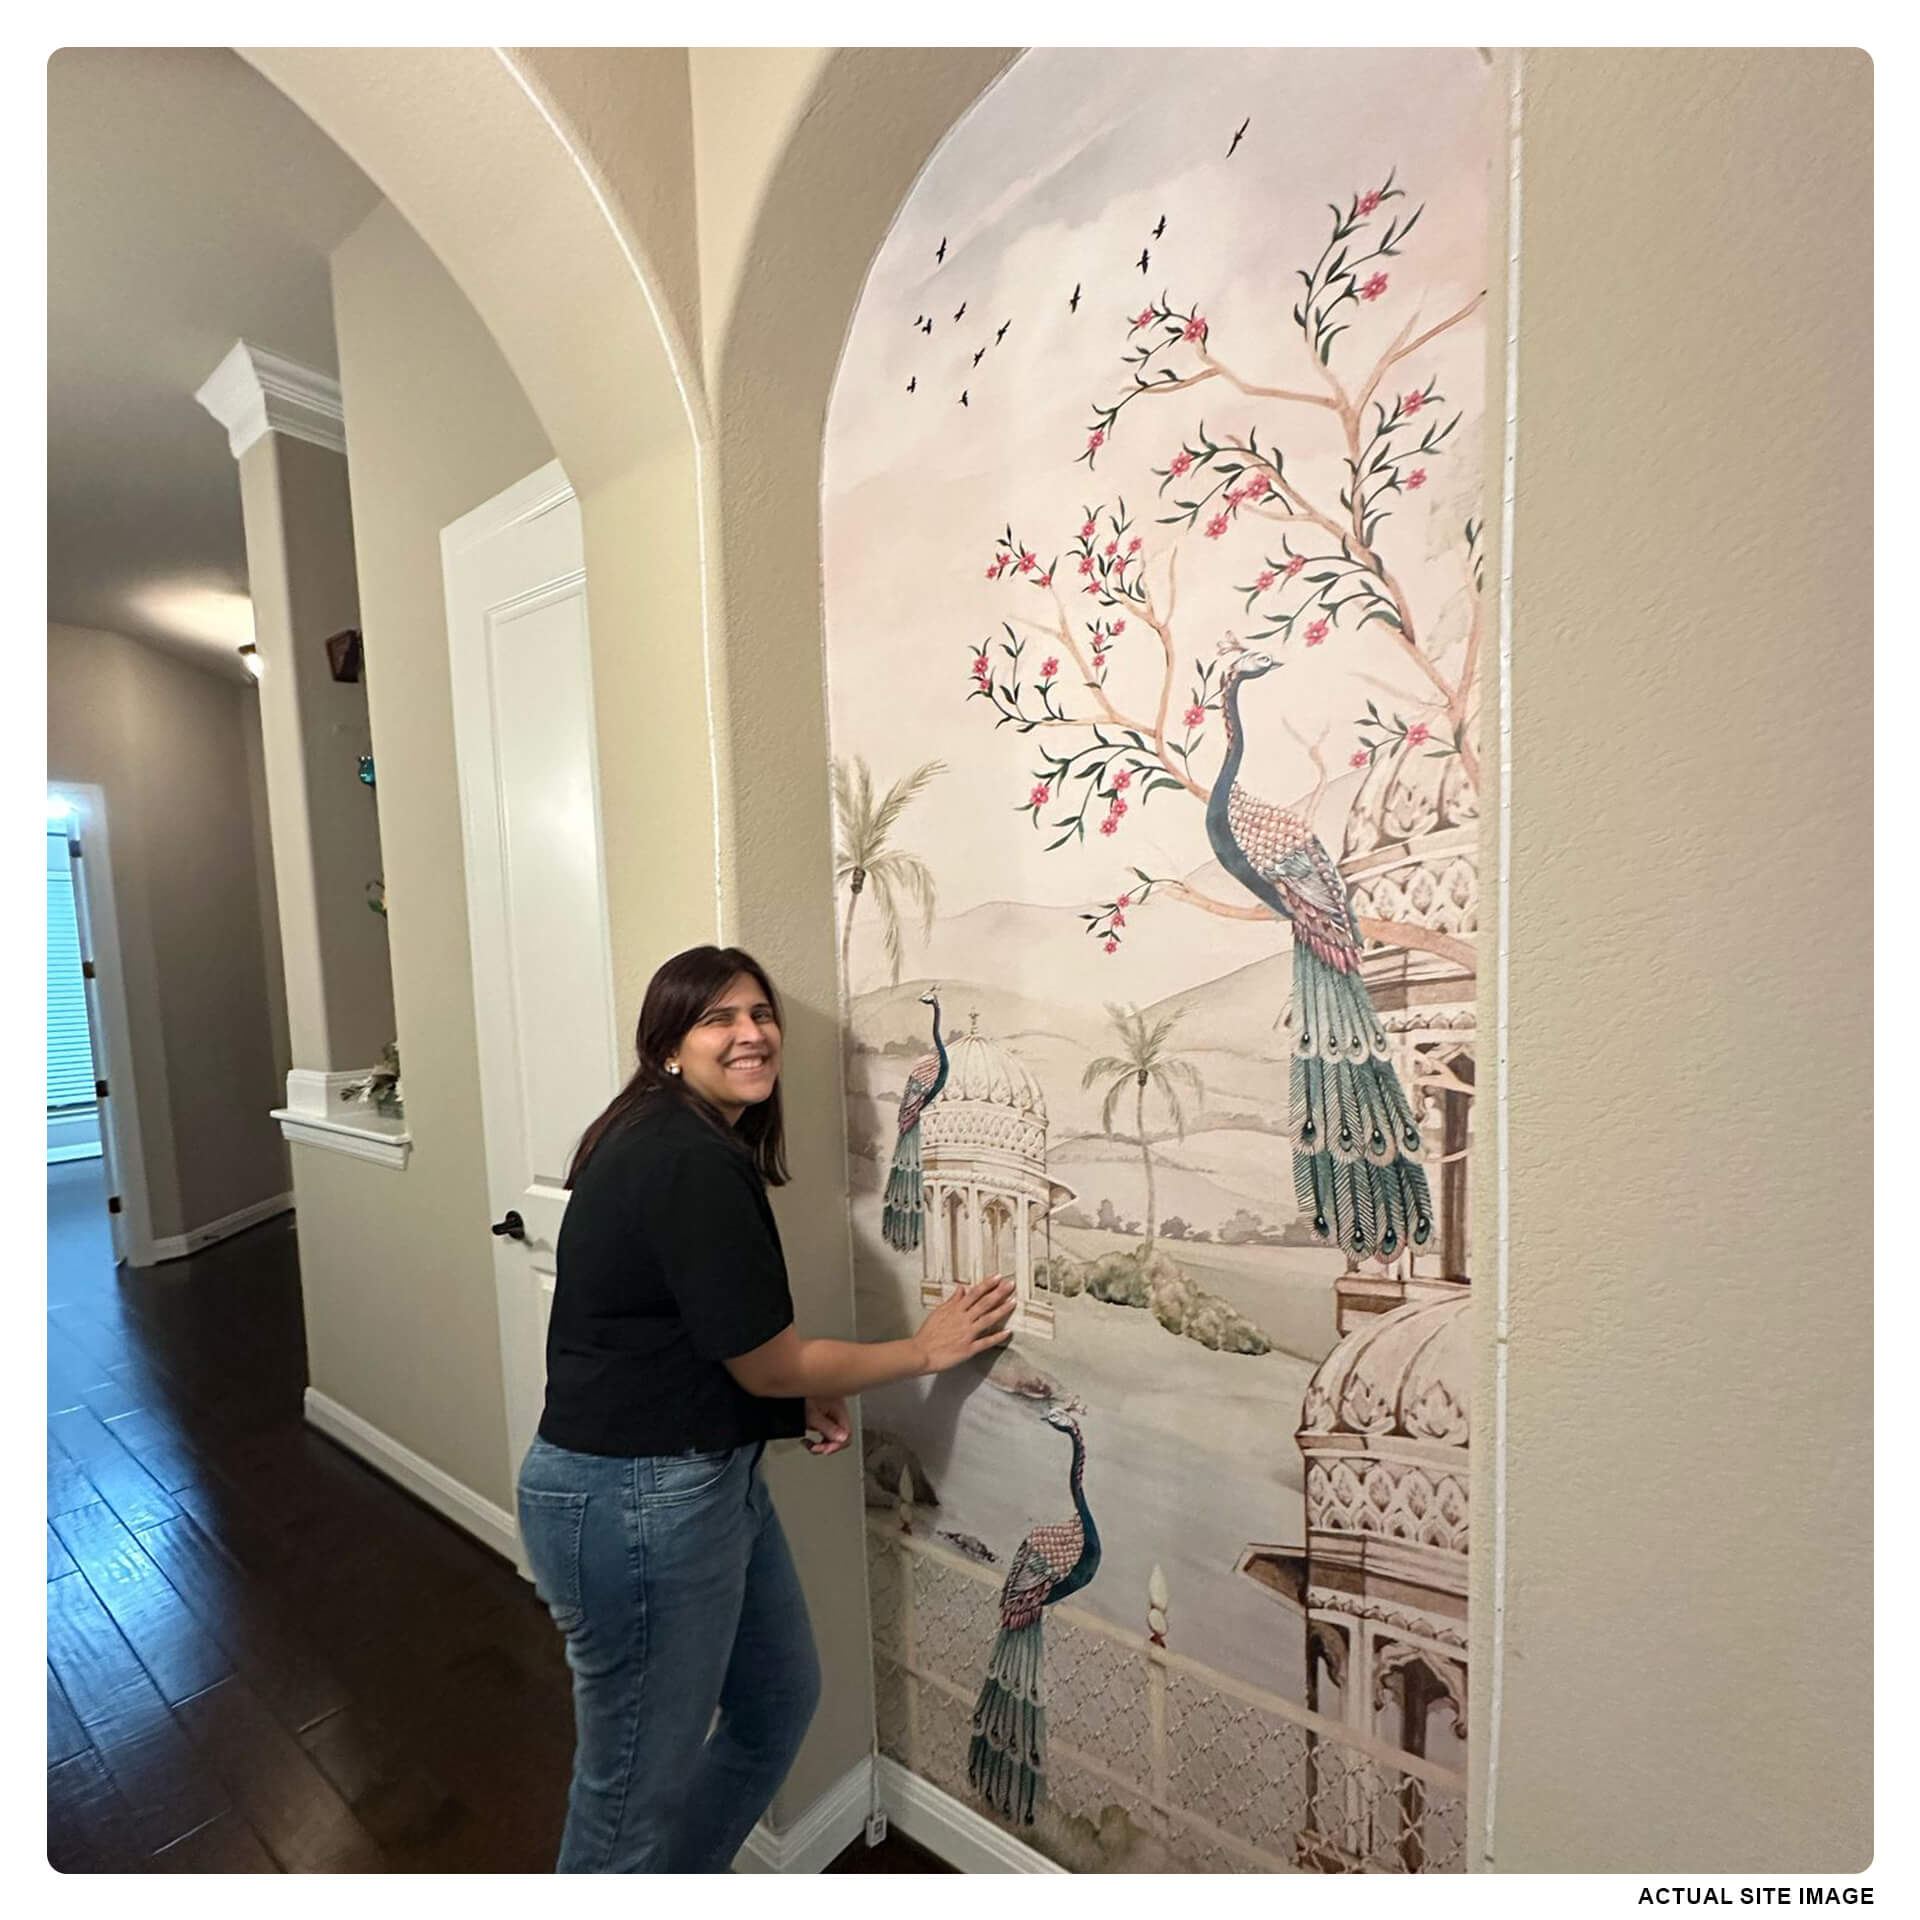
Heer Ranjha | Pichwai and Architecture
Heer Ranjha | Pichwai and Architecture
From
Sale
Sold out
Regular price
$7.00 USD
Regular price
Sale price
$7.00 USD
Unit price
per
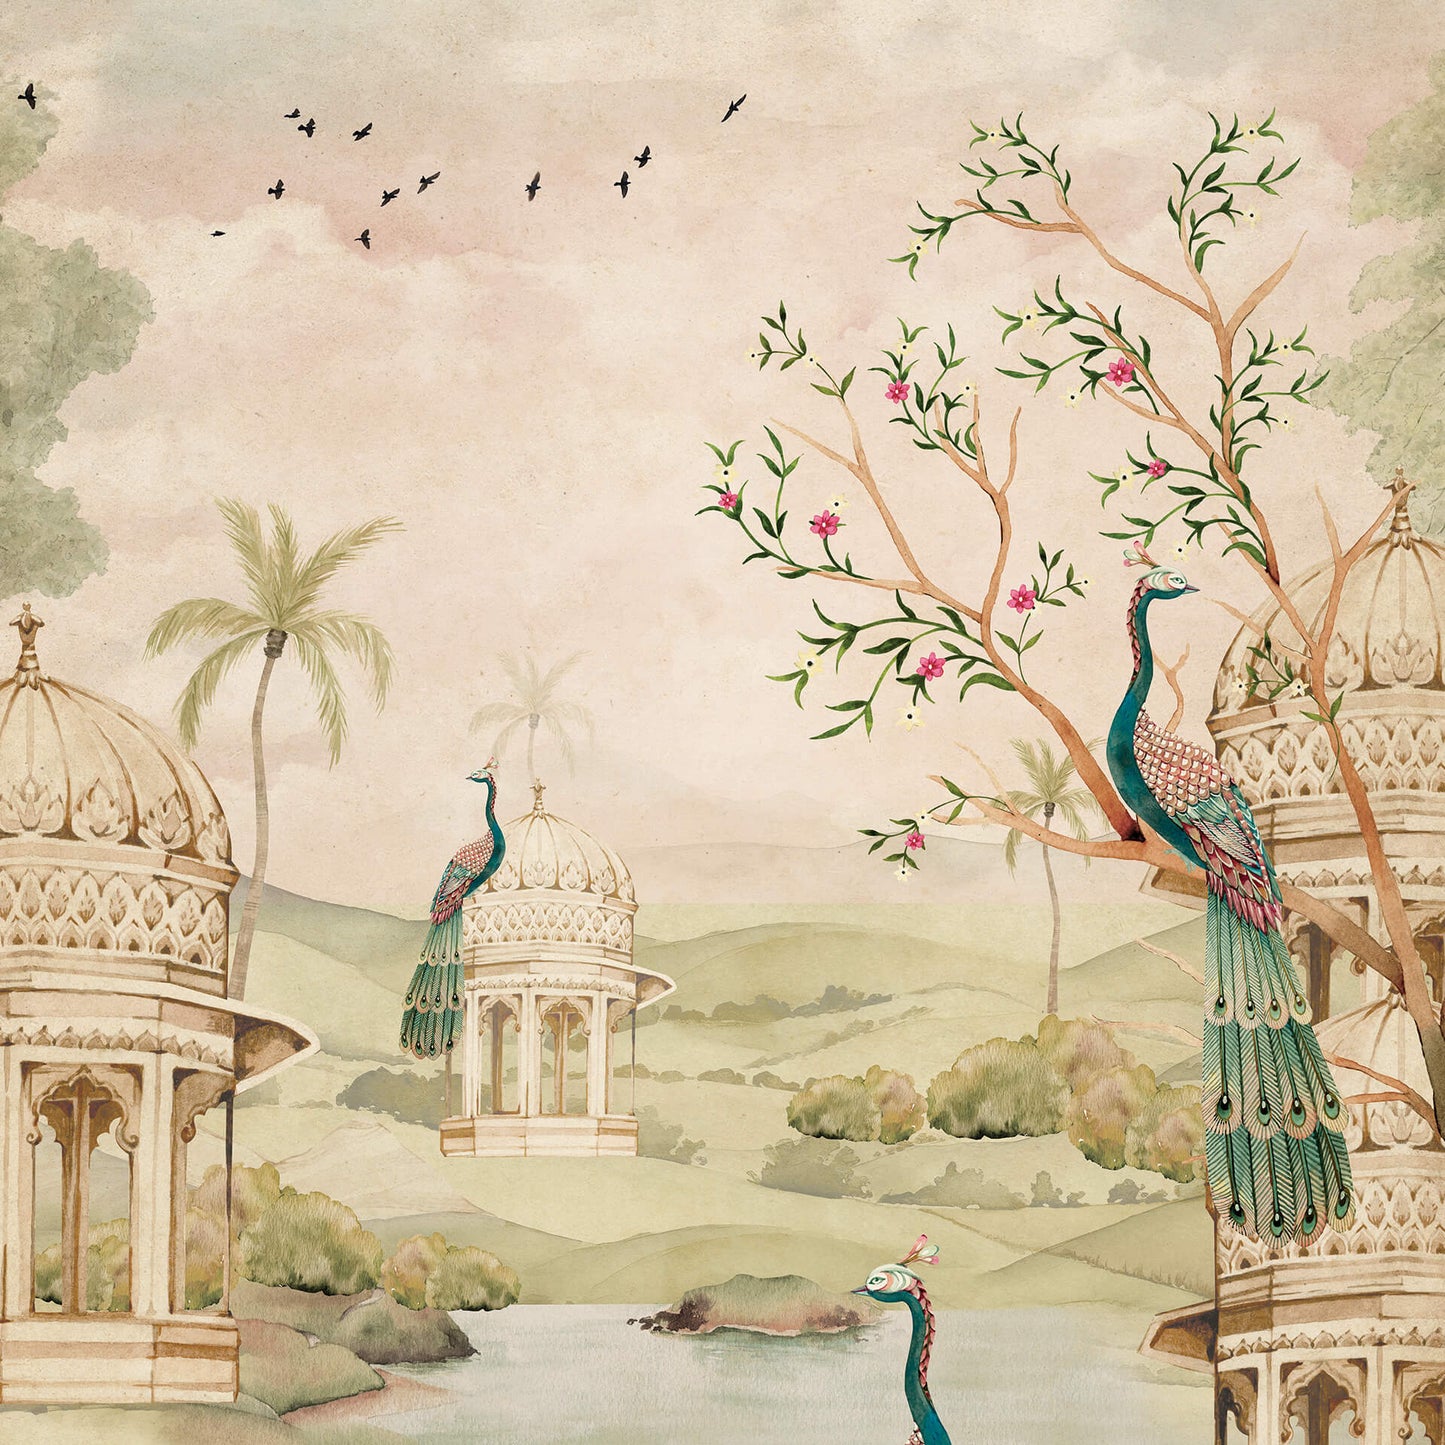
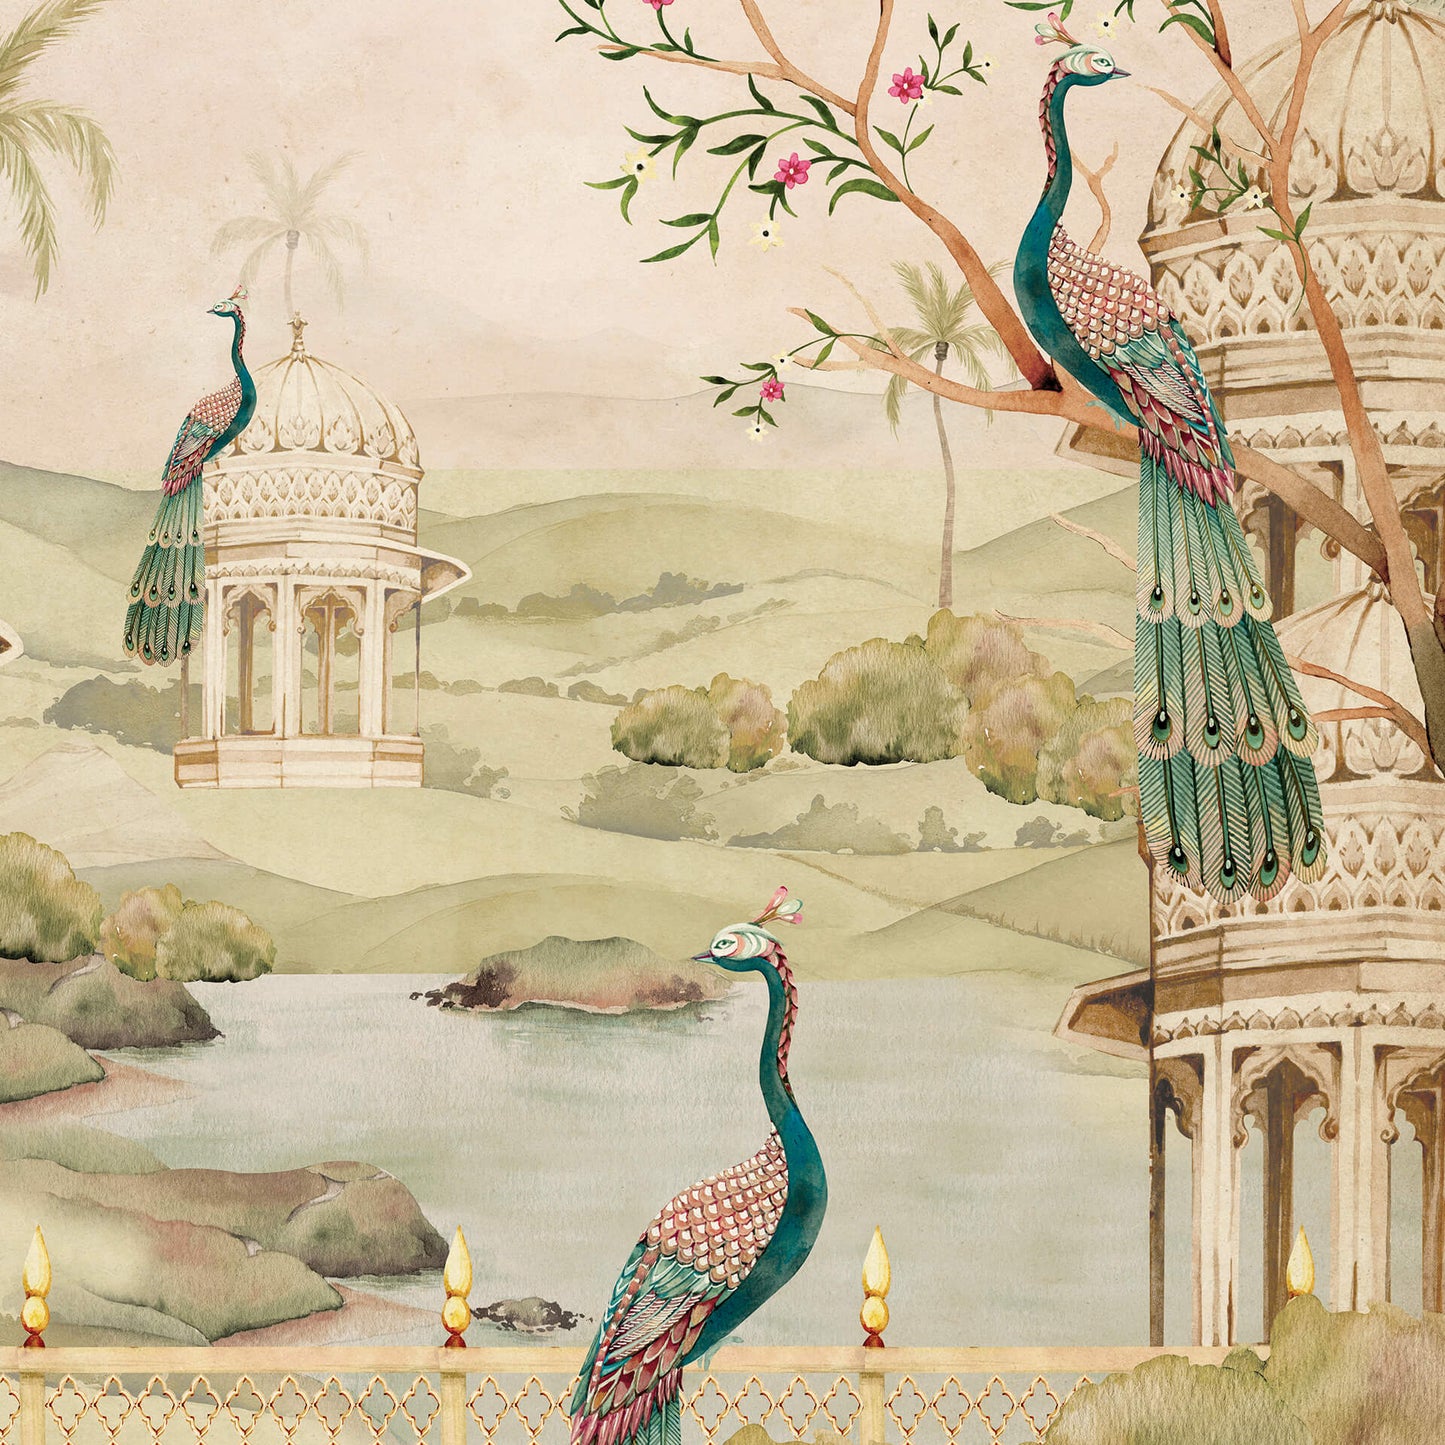
Heer-Ranjha: Indian Palace Peacock Wallpaper, inspired by the timeless love saga, this wallpaper captures the essence of grand Indian palaces adorned with intricate motifs and regal peacocks

Couldn't load pickup availability
Free shipping applies to all wallpaper orders under $500! Please note that tariffs are not included in the order price and will be billed directly to you by the shipping carrier.
Need help pulling the room together?
Explore Divya’s digital design kits — self-paced guides with moodboards, layouts, and styling tips to help you make the most of your wallpaper (and everything around it).
Product Highlights
Product Highlights
Size and Care Guide
Size and Care Guide
Material:
Care Guide: